Sputter coating samples for Electron Microscope
Introduction
 Some samples will have problems with static electricity in the electron microscope (EM). This makes the sample flex or move, degrading image quality. It can often be solved by coating them in a thin layer of gold to conduct the electrons away. Following these instructions, you should be able to coat your samples in about an hour or less. If your sample is made of metal or some other conducting material it should not need coating.
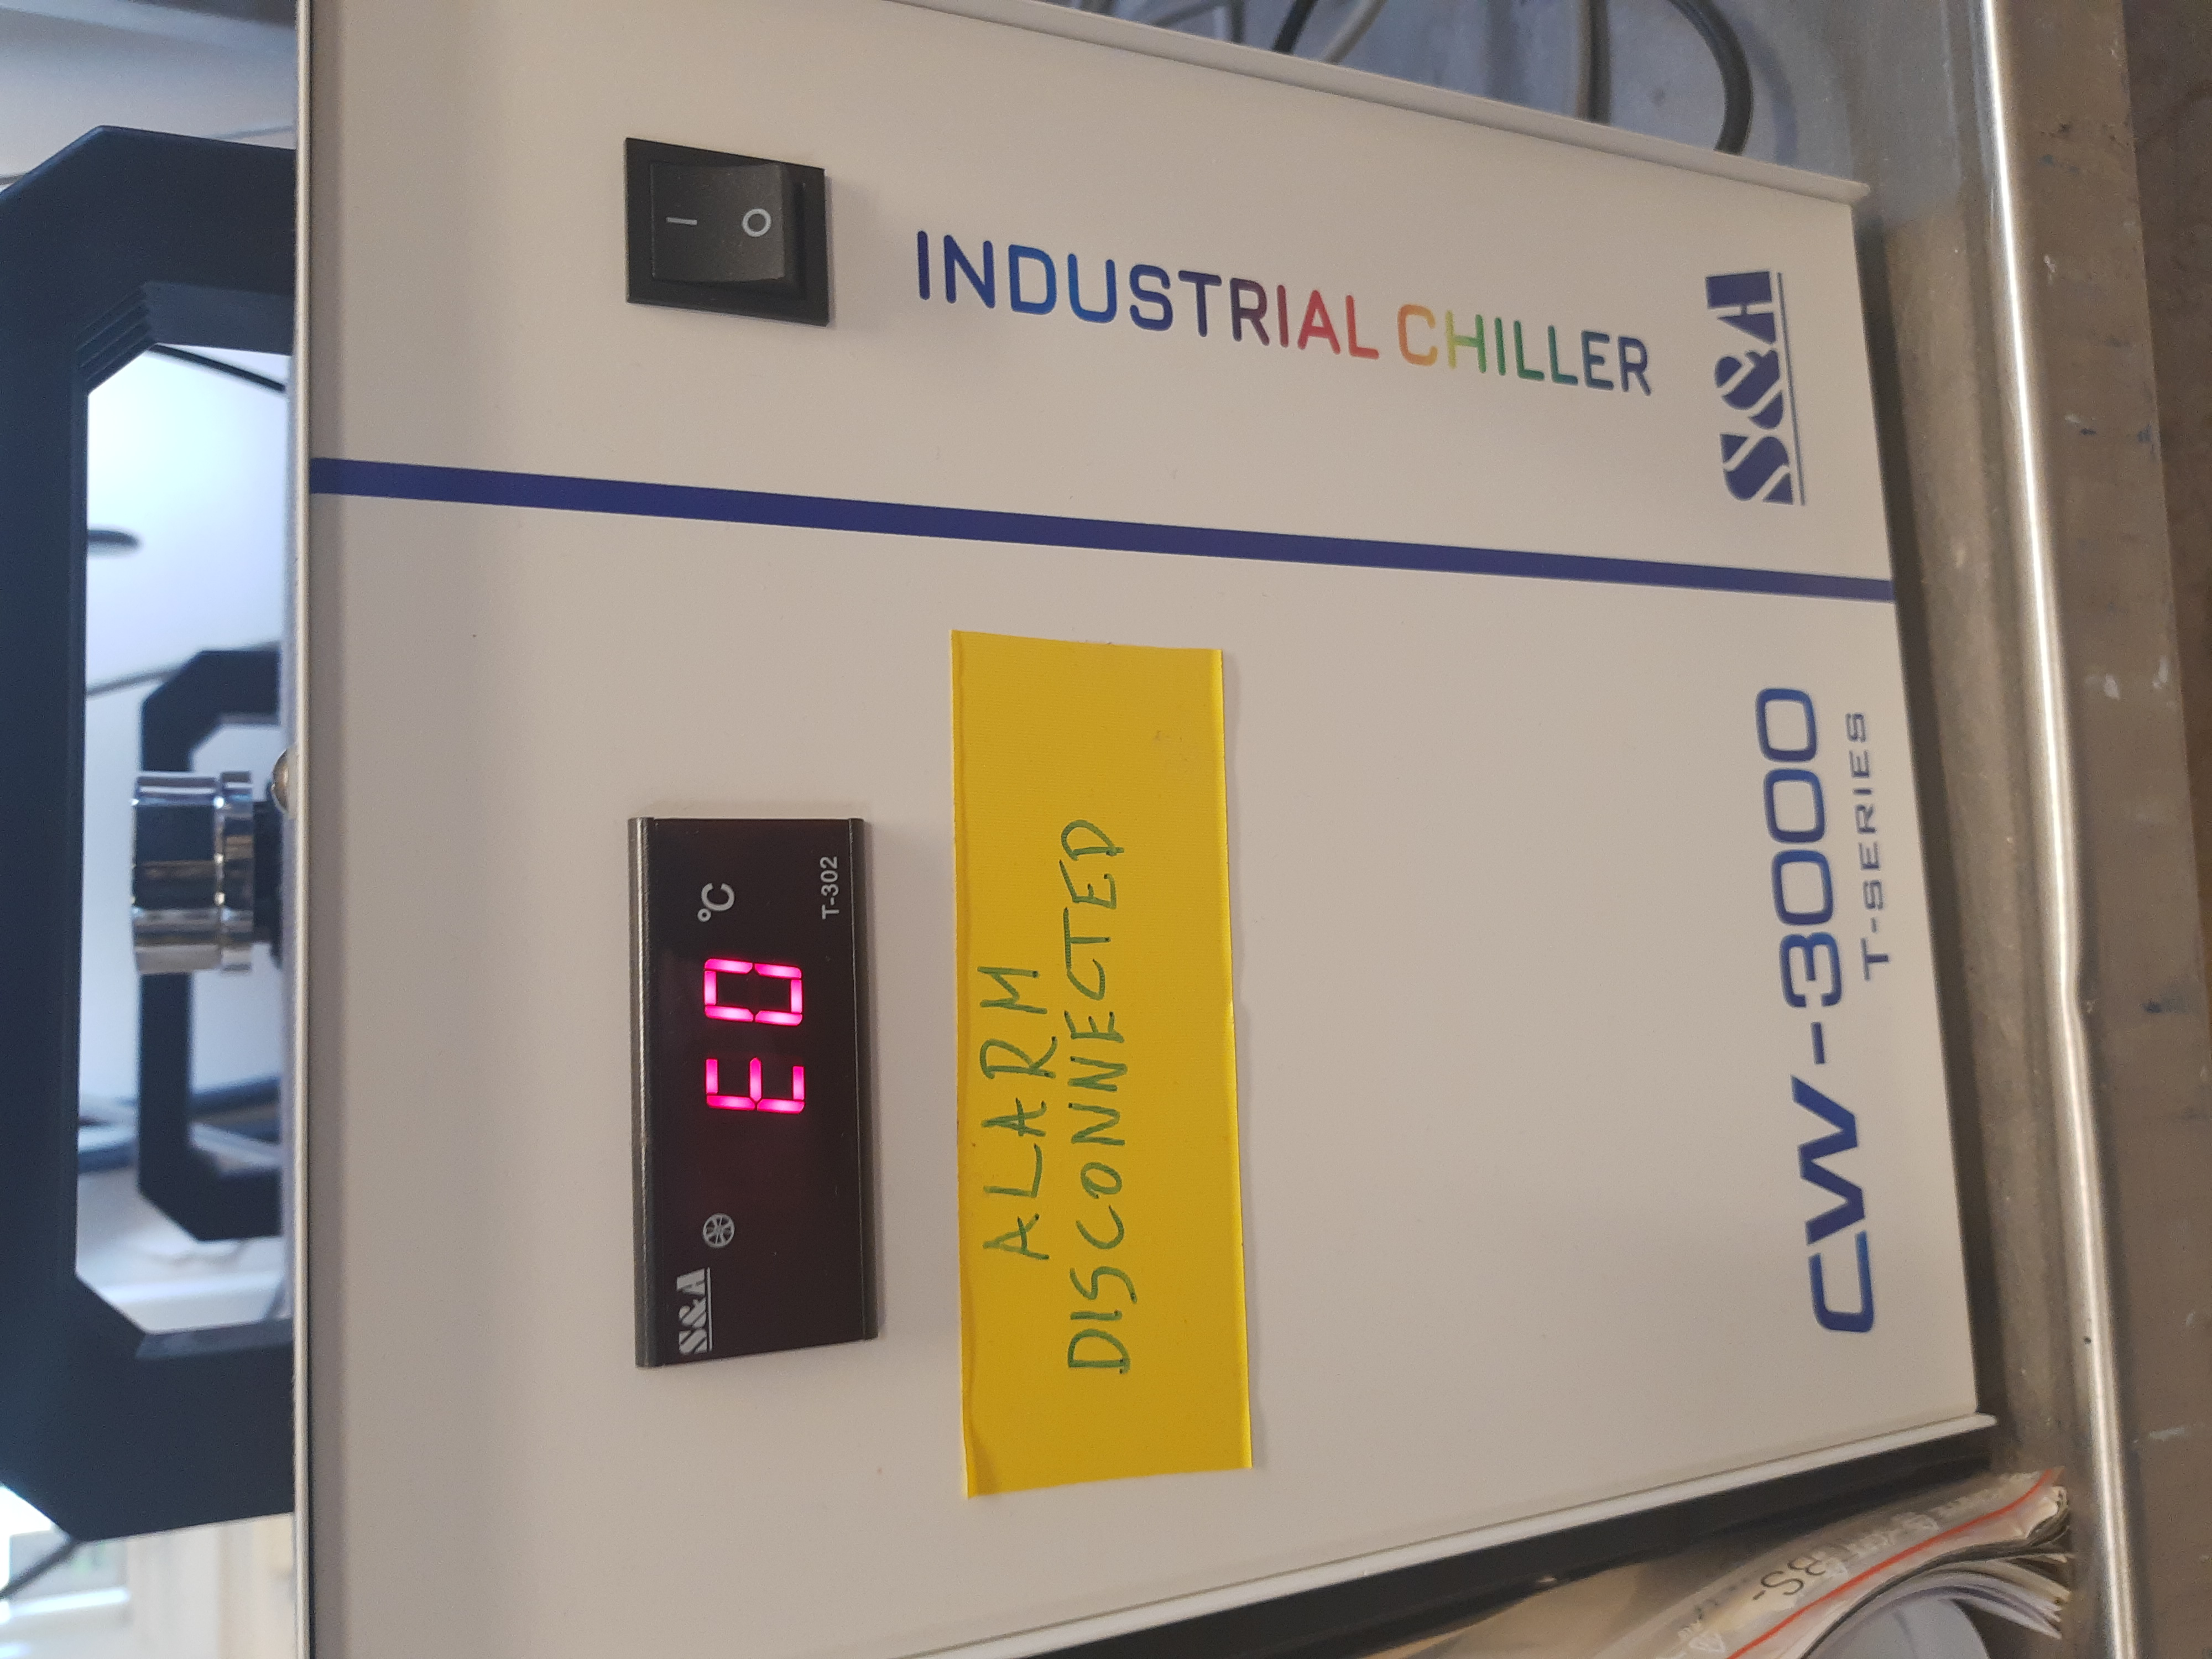
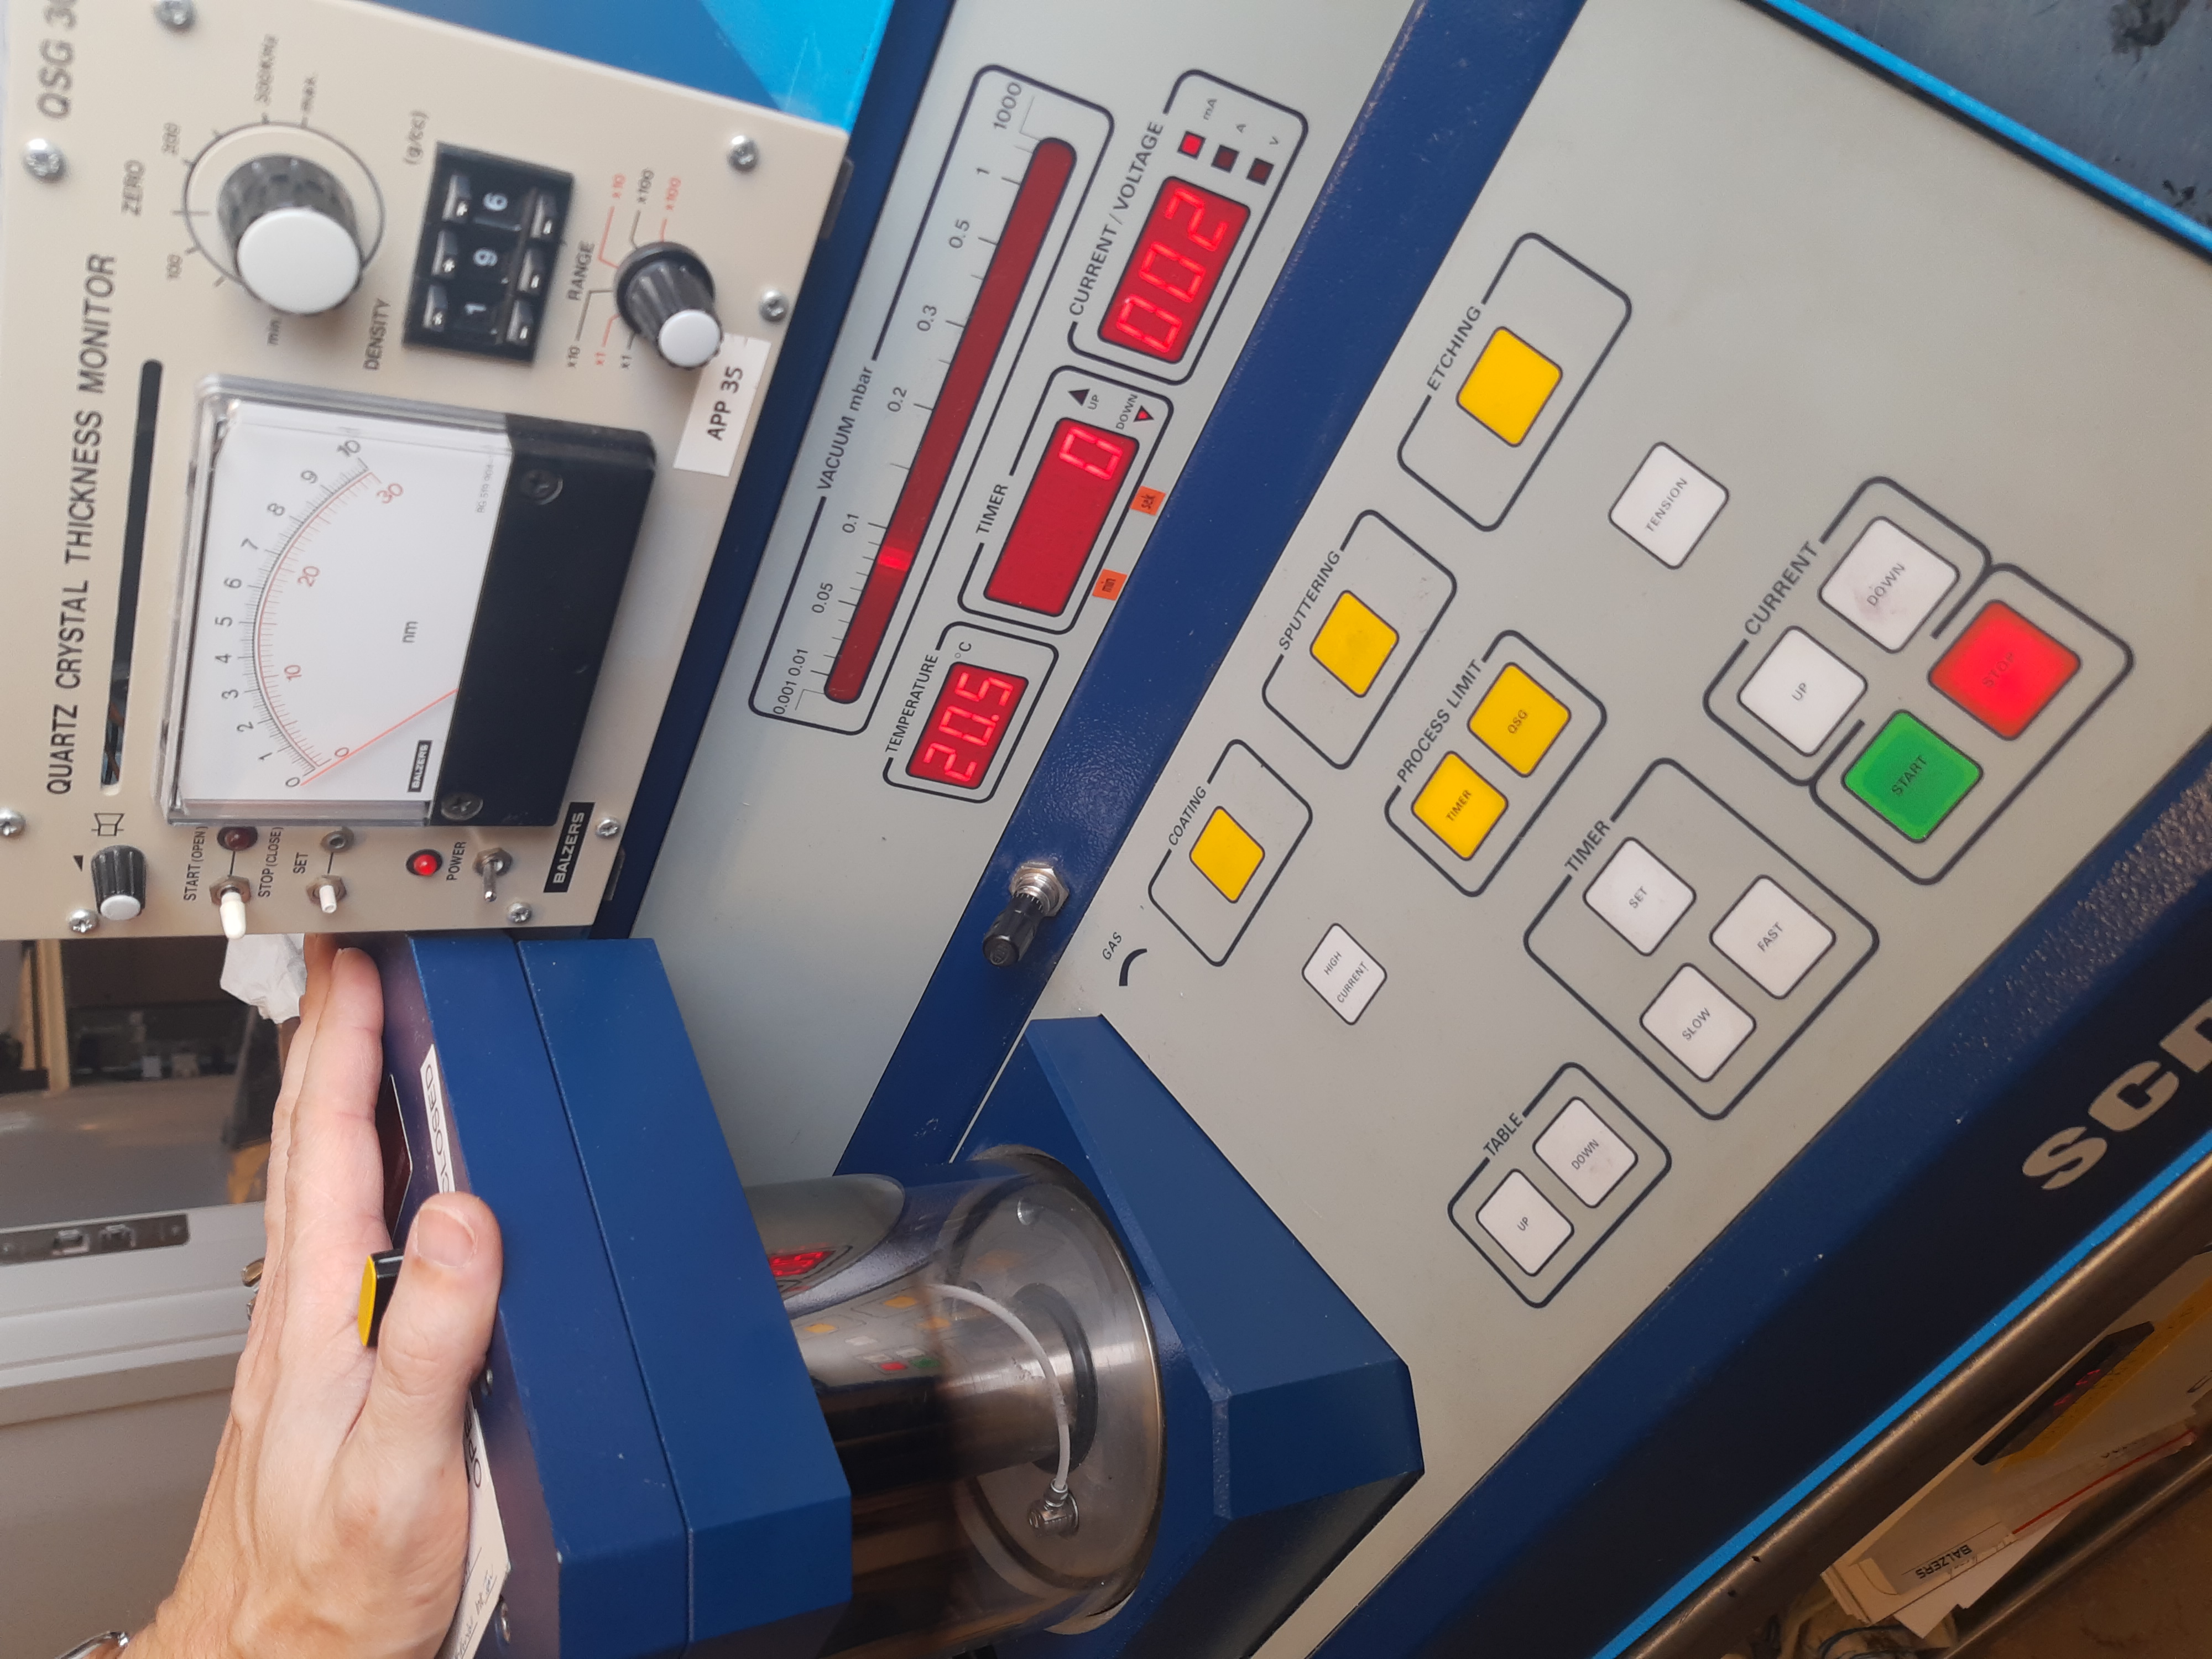
The sputter coater works by sparking an electric discharge in a thin gas of Argon. The charged Argon atoms hit a gold plate, knocking loose gold atoms. They mix with the argon gas and settle everywhere in the chamber, including on the sample. To create the right conditions, the sputter coater is connected to a vacuum pump, a bottle of argon gas, and a chiller which pumps water through the device to keep it cool.
Preparing samples
It is smartest to mount your samples on a slide that you can put in both sputter coater and electron microscope. One version is to glue tinfoil around a microscope slide and then glue the sample to the tinfoil, this should give a conducting path into the EM sample holder.
There is tinfoil next to the EM, microscope slides in the chemistry lab in the drawers under the desk and small superglue tubes in the tall blue draw-out closet straight ahead from the door. Scissors in boxes on the big box wall in the large space.
Step by step sputtering procedure
Getting ready
- Check that the gas valve on the sputter coater is closed (turn clockwise)
- Check that target cover is closed (Turn the button on top of the blue arm over glass cylinder)
- Check that regulator valve on gas bottle is closed (counterclockwise, should feel very loose). It's the handle by the pressure meters.
- Open gas valve on top of gas bottle very slowly. (counterclockwise). Stop immediately when the right pressure meter jumps up.
- Open the regulator valve. It is the valve on the gas bottle pressure meter. Turn clockwise, go slow when you start to feel resistance. Stop immediately when pressure meter goes up (probably stays in range 3-10 L/min). NB: This is not the actual flow, no gas leaves till the sputter coater valve is opened.
- Open sputter coater (lift the blue arm that rests on the glass cylinder). Place samples. Even if you've placed your samples on a microscope slide, they're liable to be blown over when air is let in after sputtering, weigh down with bolts or washers.
- Close sputter coater by gently lowering arm
Pumping down
- Plug in power cable. Pump starts. Check that the chiller (below) is on.
- Turn on sputter coater (Flip switch on the right side)
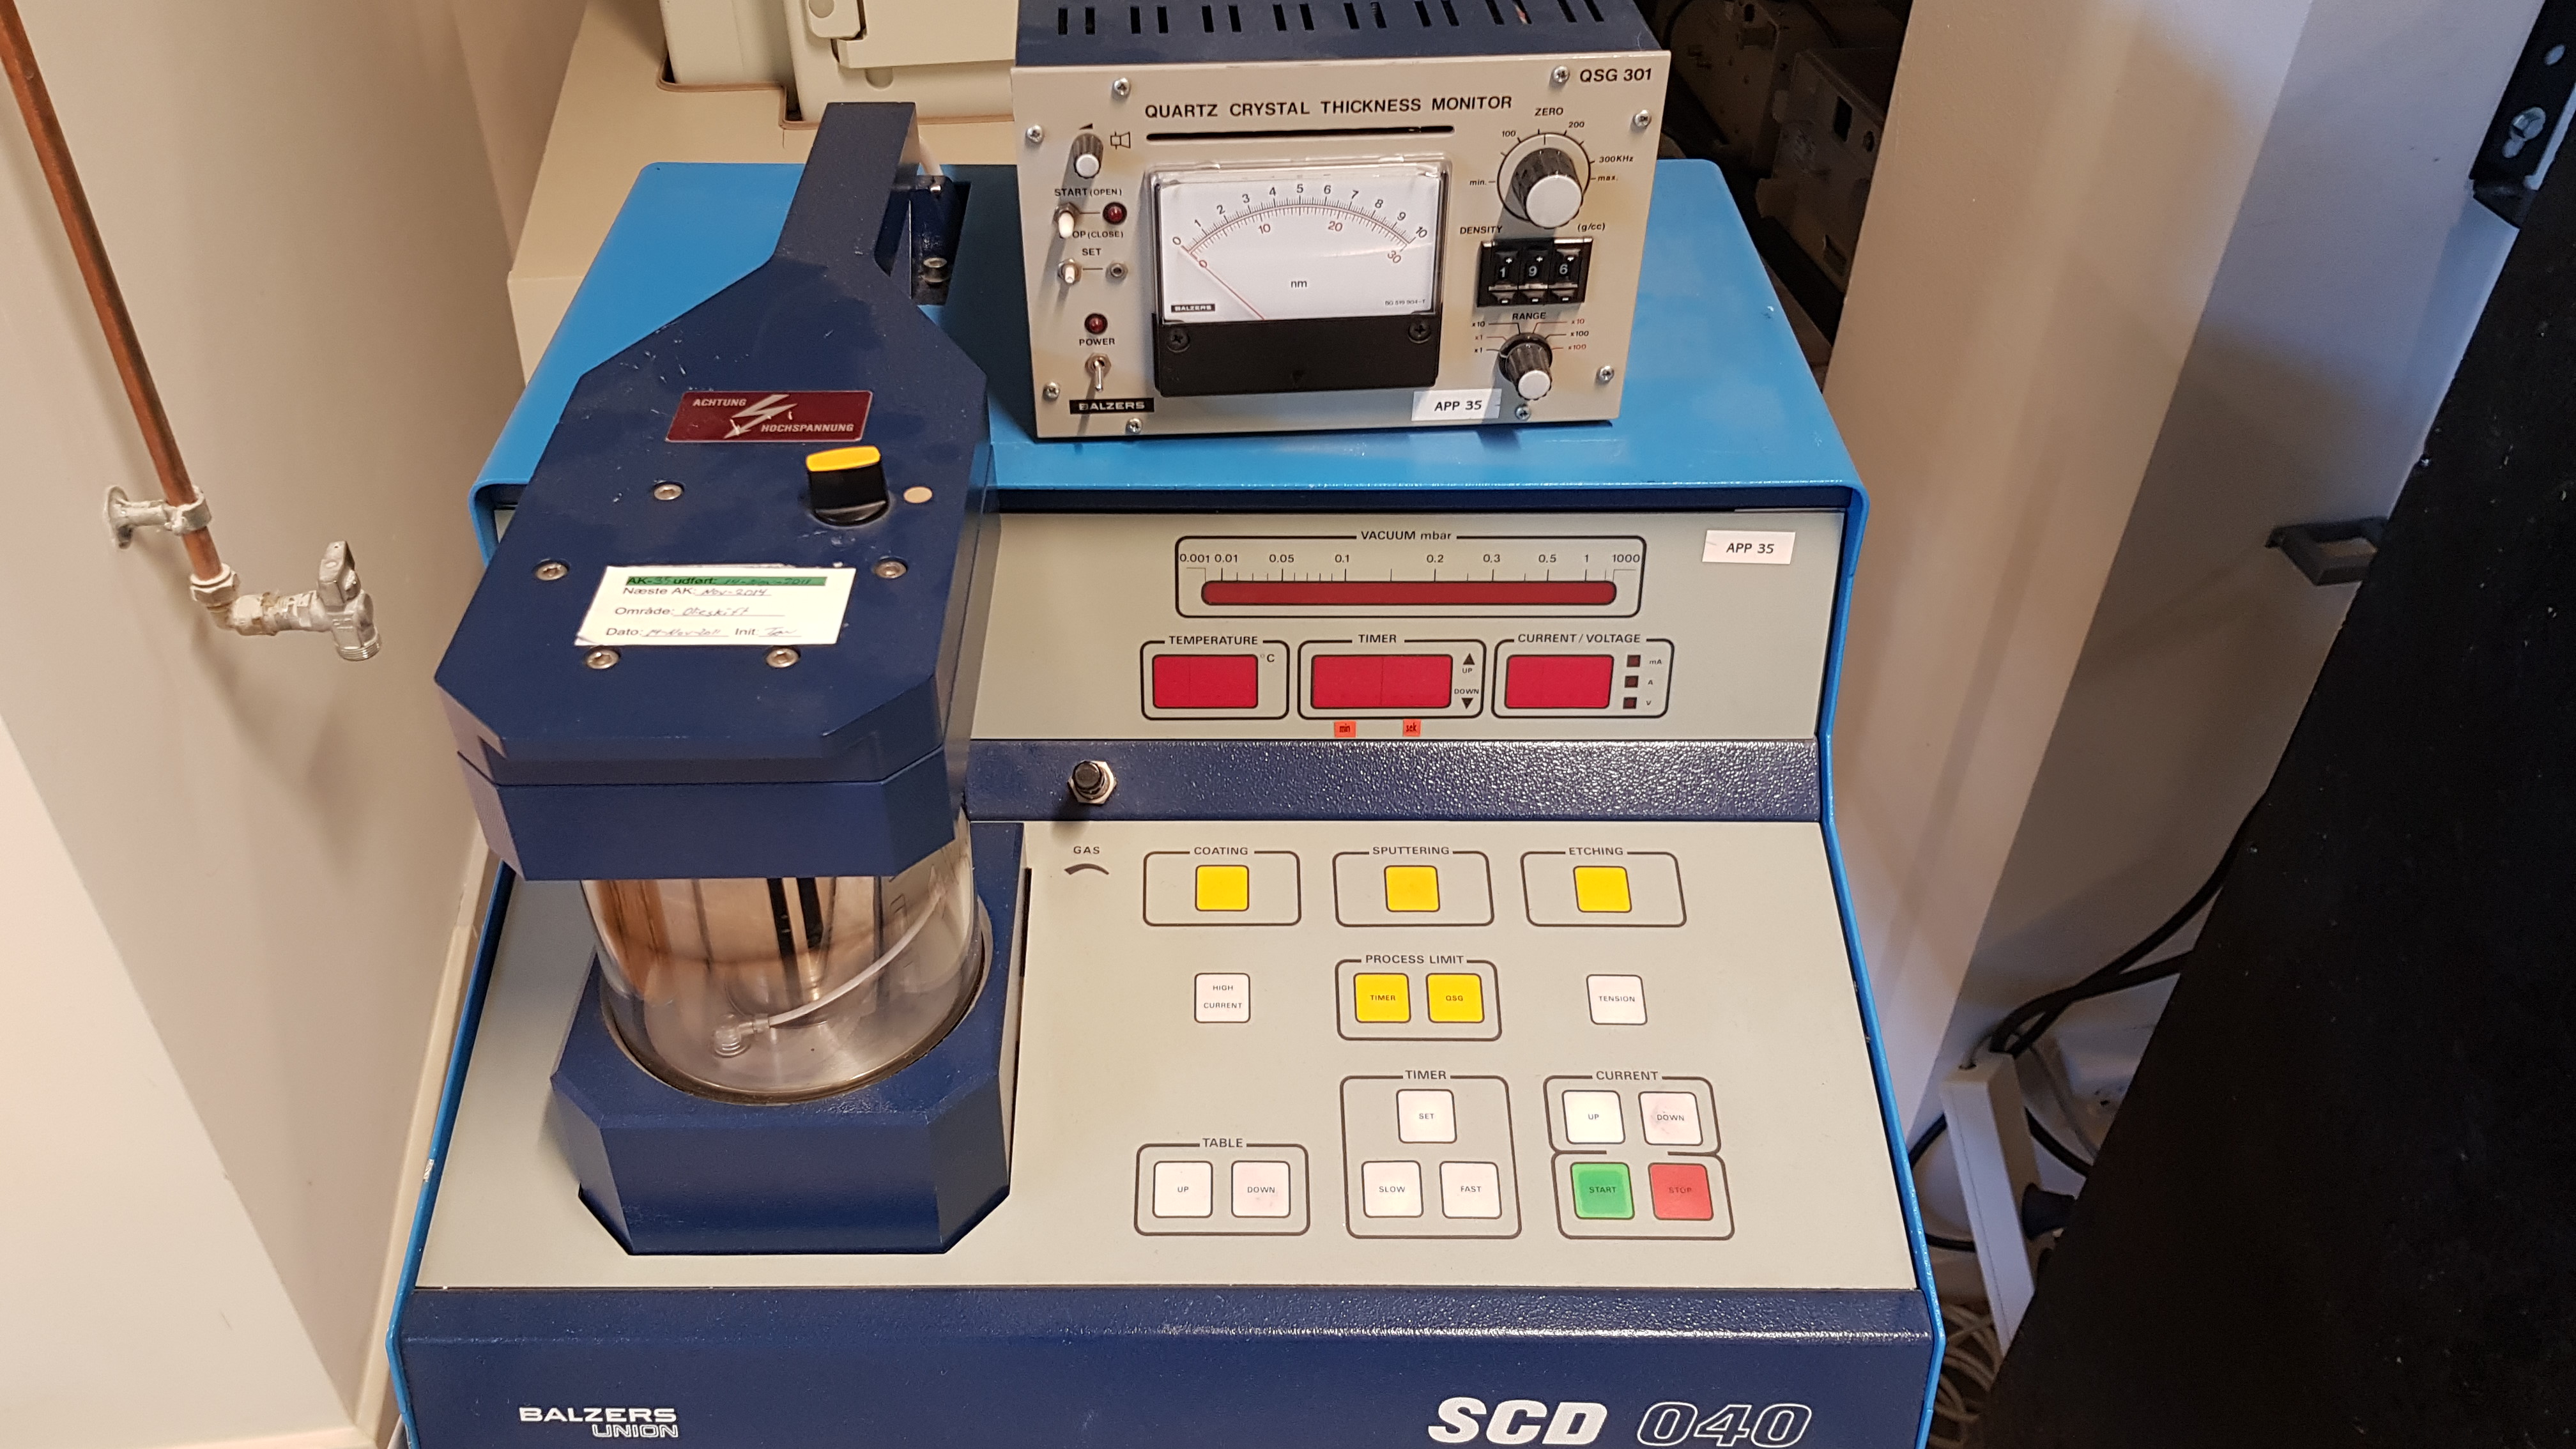
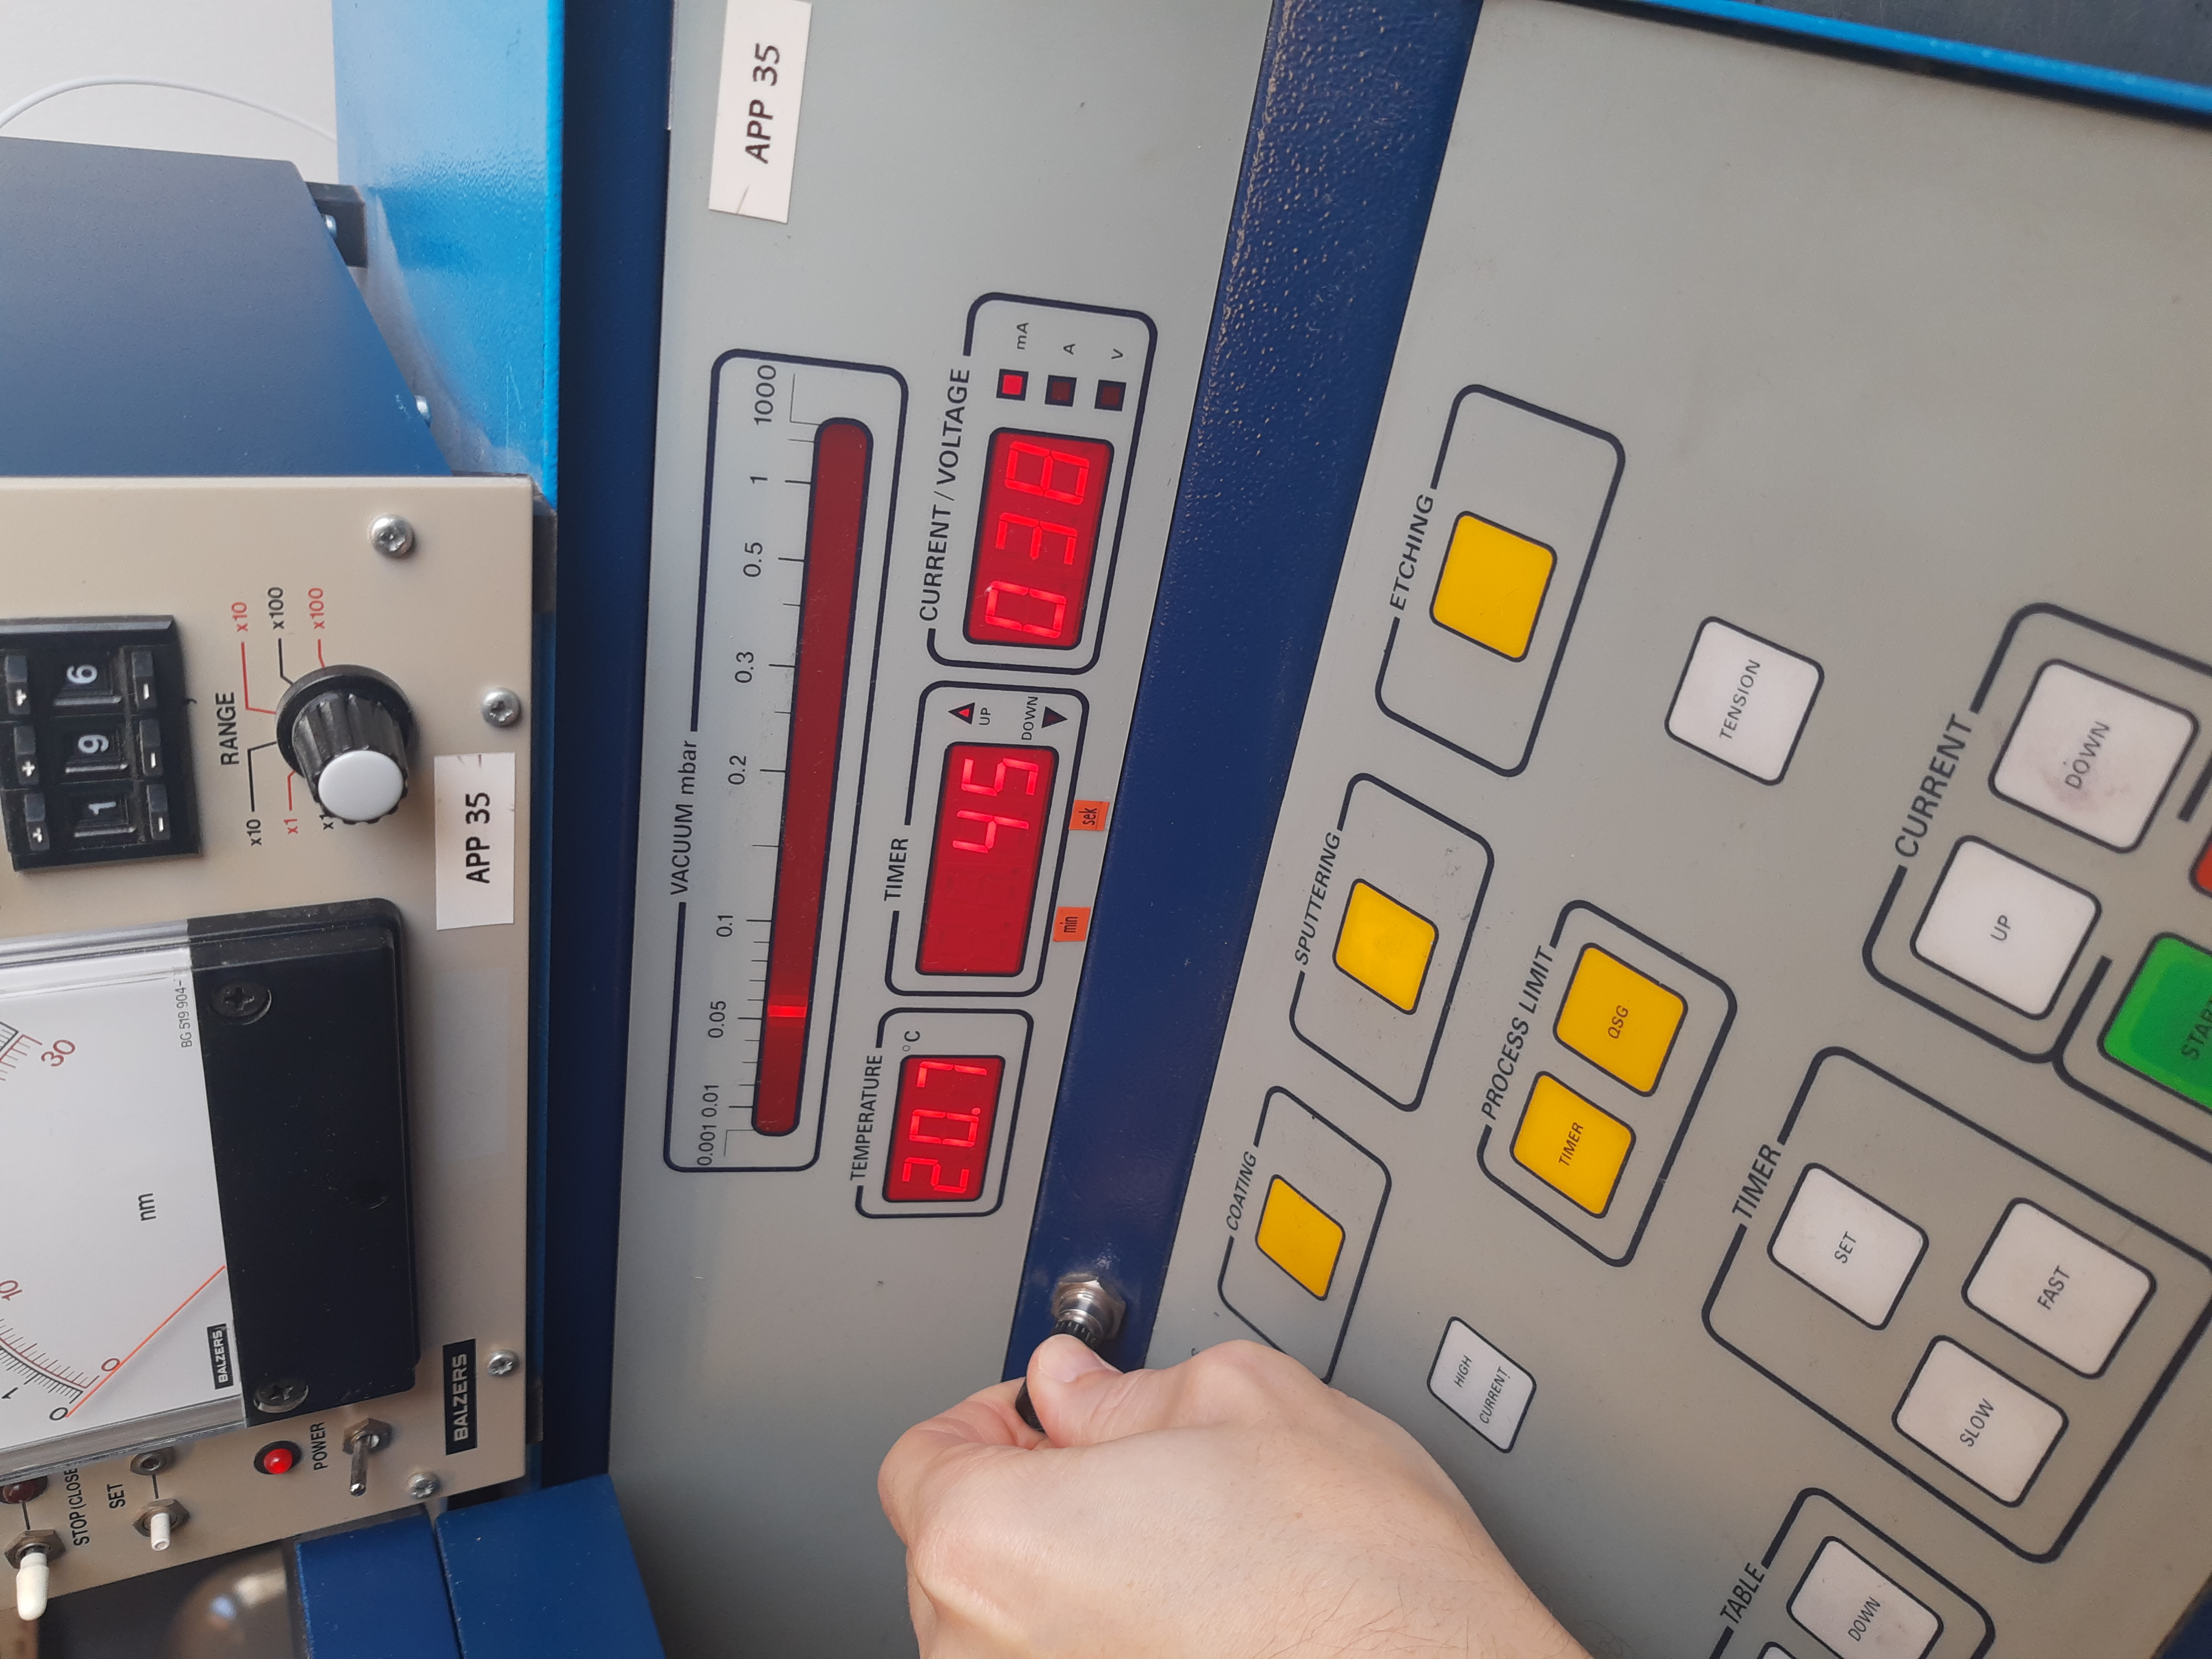
- Find the pressure meter on top of sputter coater panel ("Vacuum mbar")
- Press down (heavily) on the arm to seal the connection to the glass chamber. You should hear the pump noise change, and see the sputter coater pressure meter go down rapidly.
- Take a napkin from the kitchen and stuff it in the pump outlet, keeps the noise down
- The pump may leak a bit of oil. That's probably not critical.
- Wait for the pressure to get to the range 0.05-0.1 mbar. (Perhaps 5-15 minutes).
- Open the gas valve ("gas") on sputter coater veeery ligthly (counterclockwise). The pressure should jump up and start falling again. Wait for the pressure to drop to 0.05-0.1 mbar, preferably towards the lower end. This may take 10-20 minutes. If it doesn't come down, try closing the gas valve, wait a while, and re-open at lower flow. There MUST be some flow of Argon gas, but if it's too much, the pump may have trouble keeping up. If the pressure goes below 0.05 mbar you can compensate by opening the gas valve a little.
Sputtering
- Press "SPUTTERING" twice.
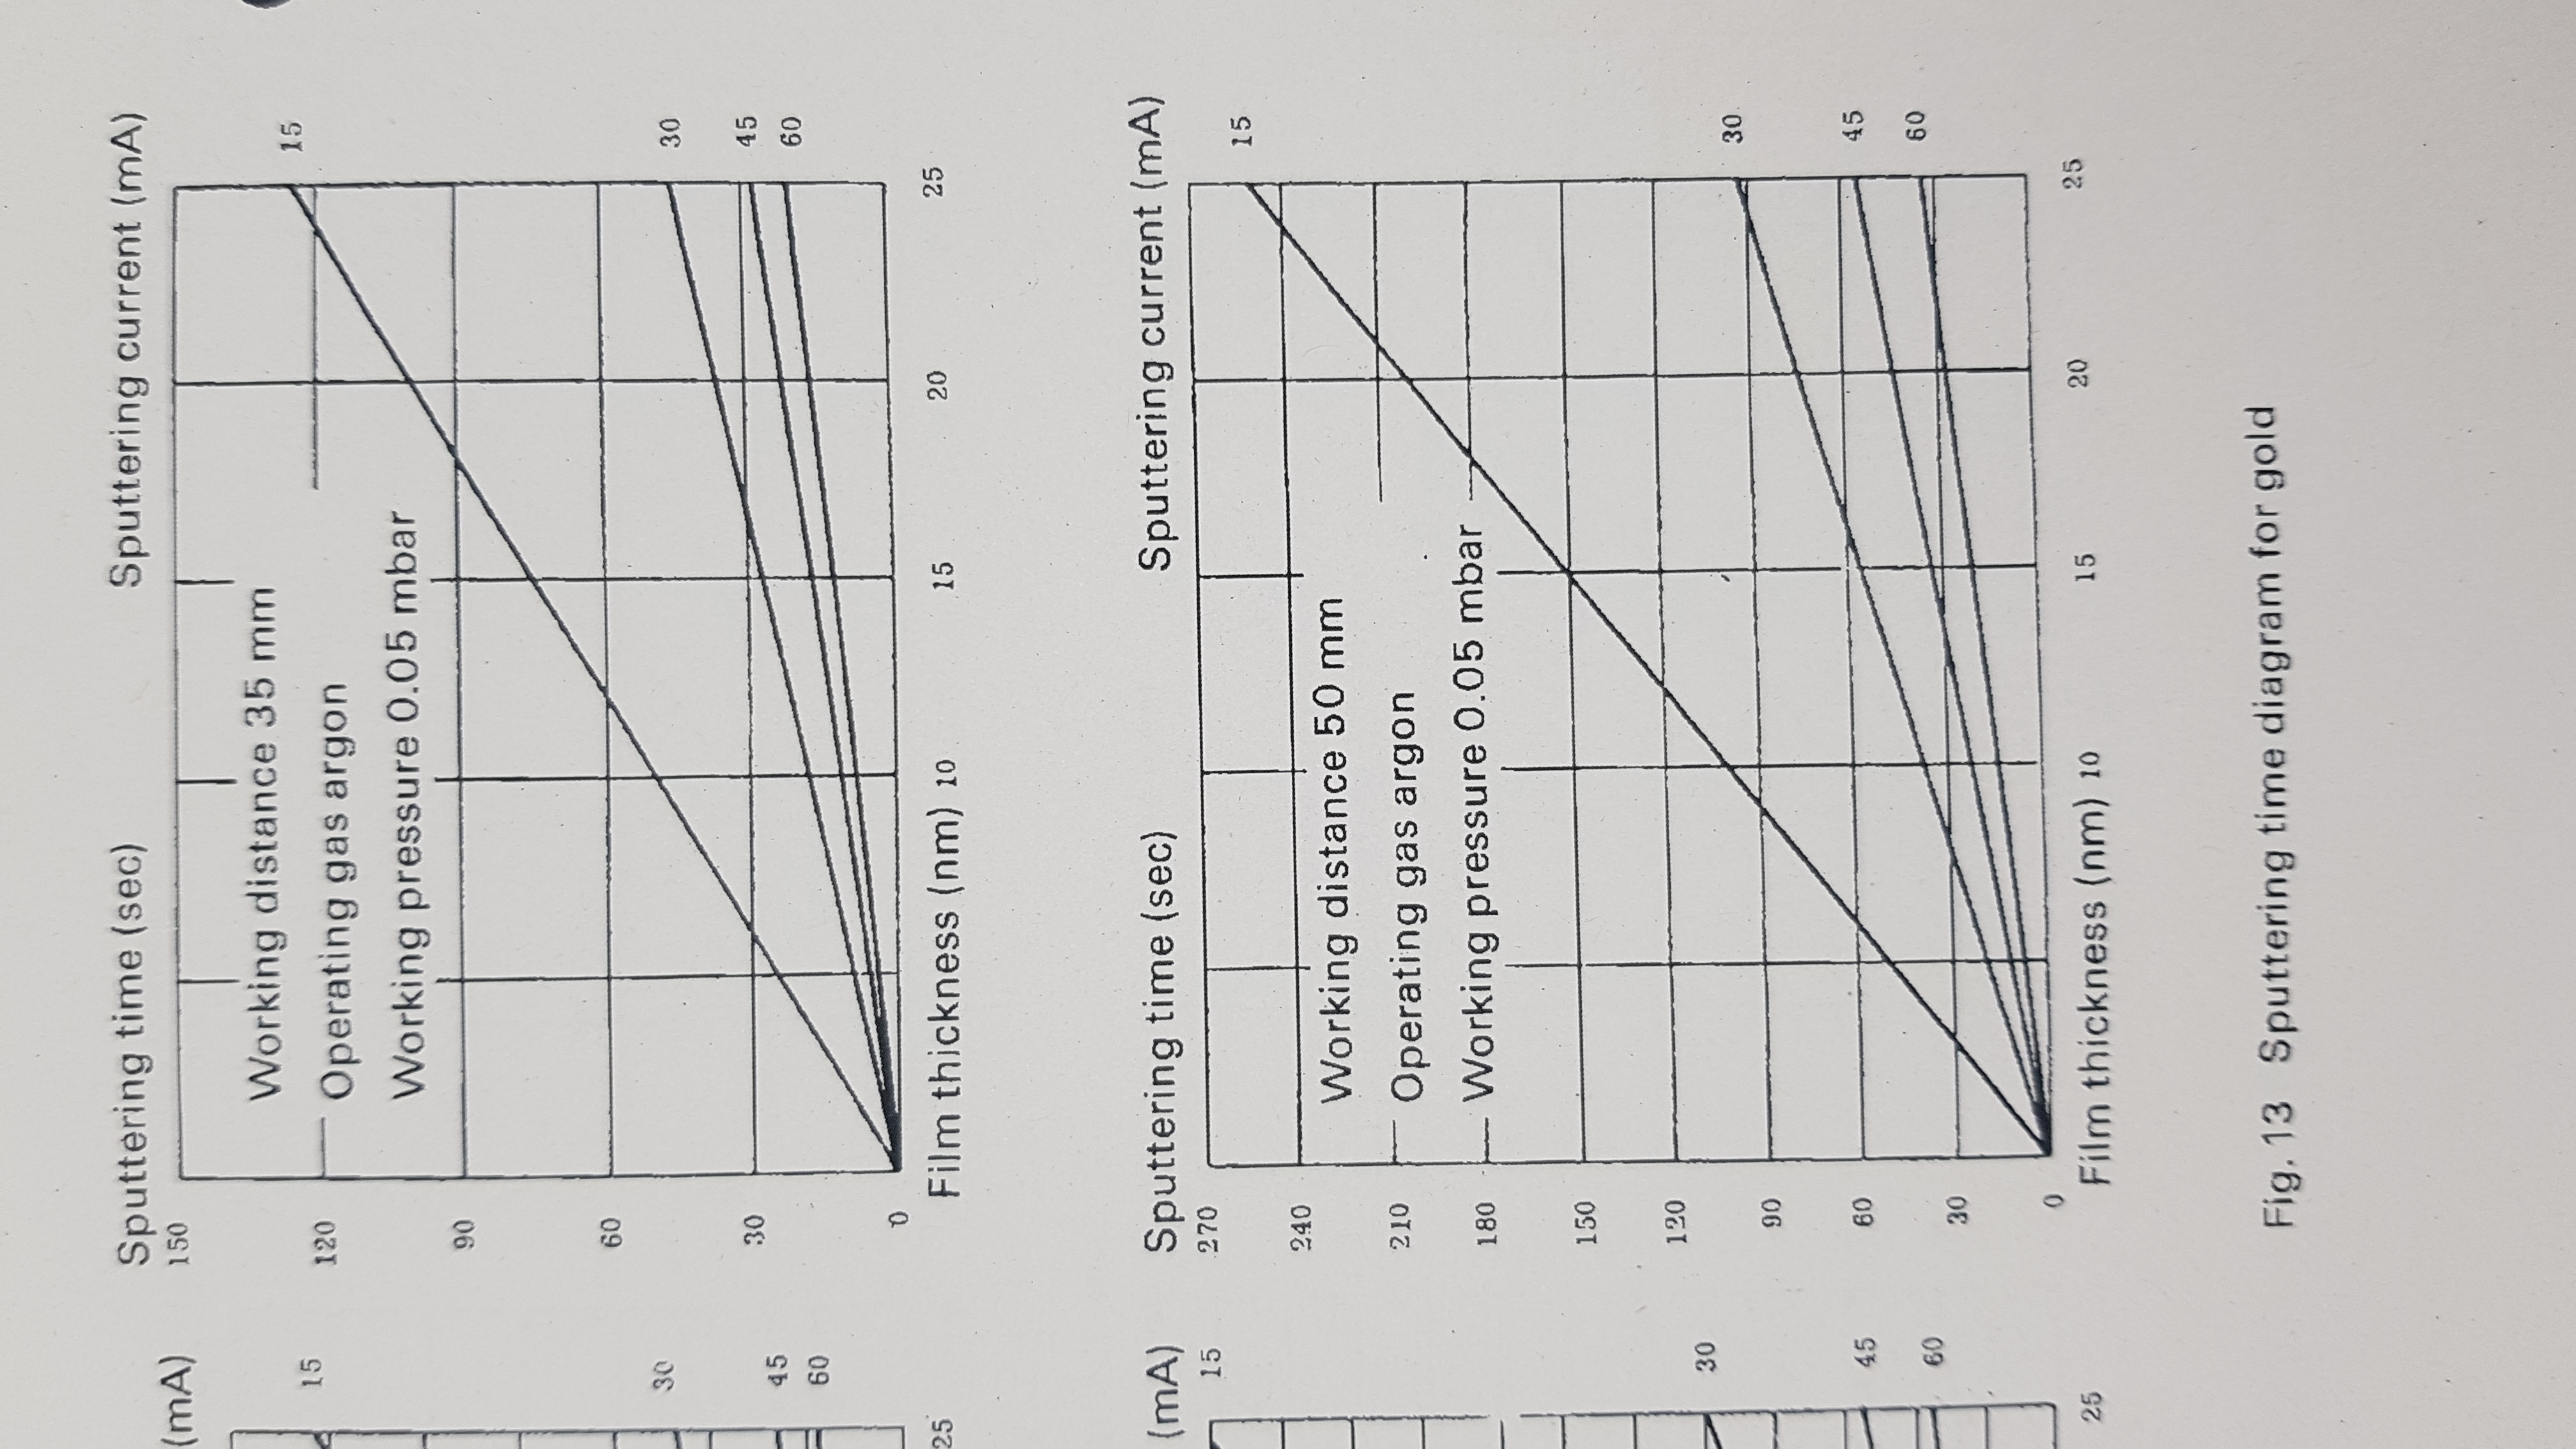
- Decide on how long a sputtering time you want. At least 45 seconds. If keeping the layer thin is not critical, then try 2 minutes. Consult the timing/thickness calibration curve at the bottom of this page if in doubt. (But it may be off, depending on pressure and sunspots).
- Set the sputtering time on the TIMER display. This is done in a weird way, so take care: Press the SET button repeatedly until the TIMER up arrow lights up. Then hold down SET and increase the time quickly or slowly by holding FAST or SLOW. To decrease the time again, let go of the SET button and press it again to light up the down arrow. 100 on the display means 1 min 00 sec, not 100 seconds.
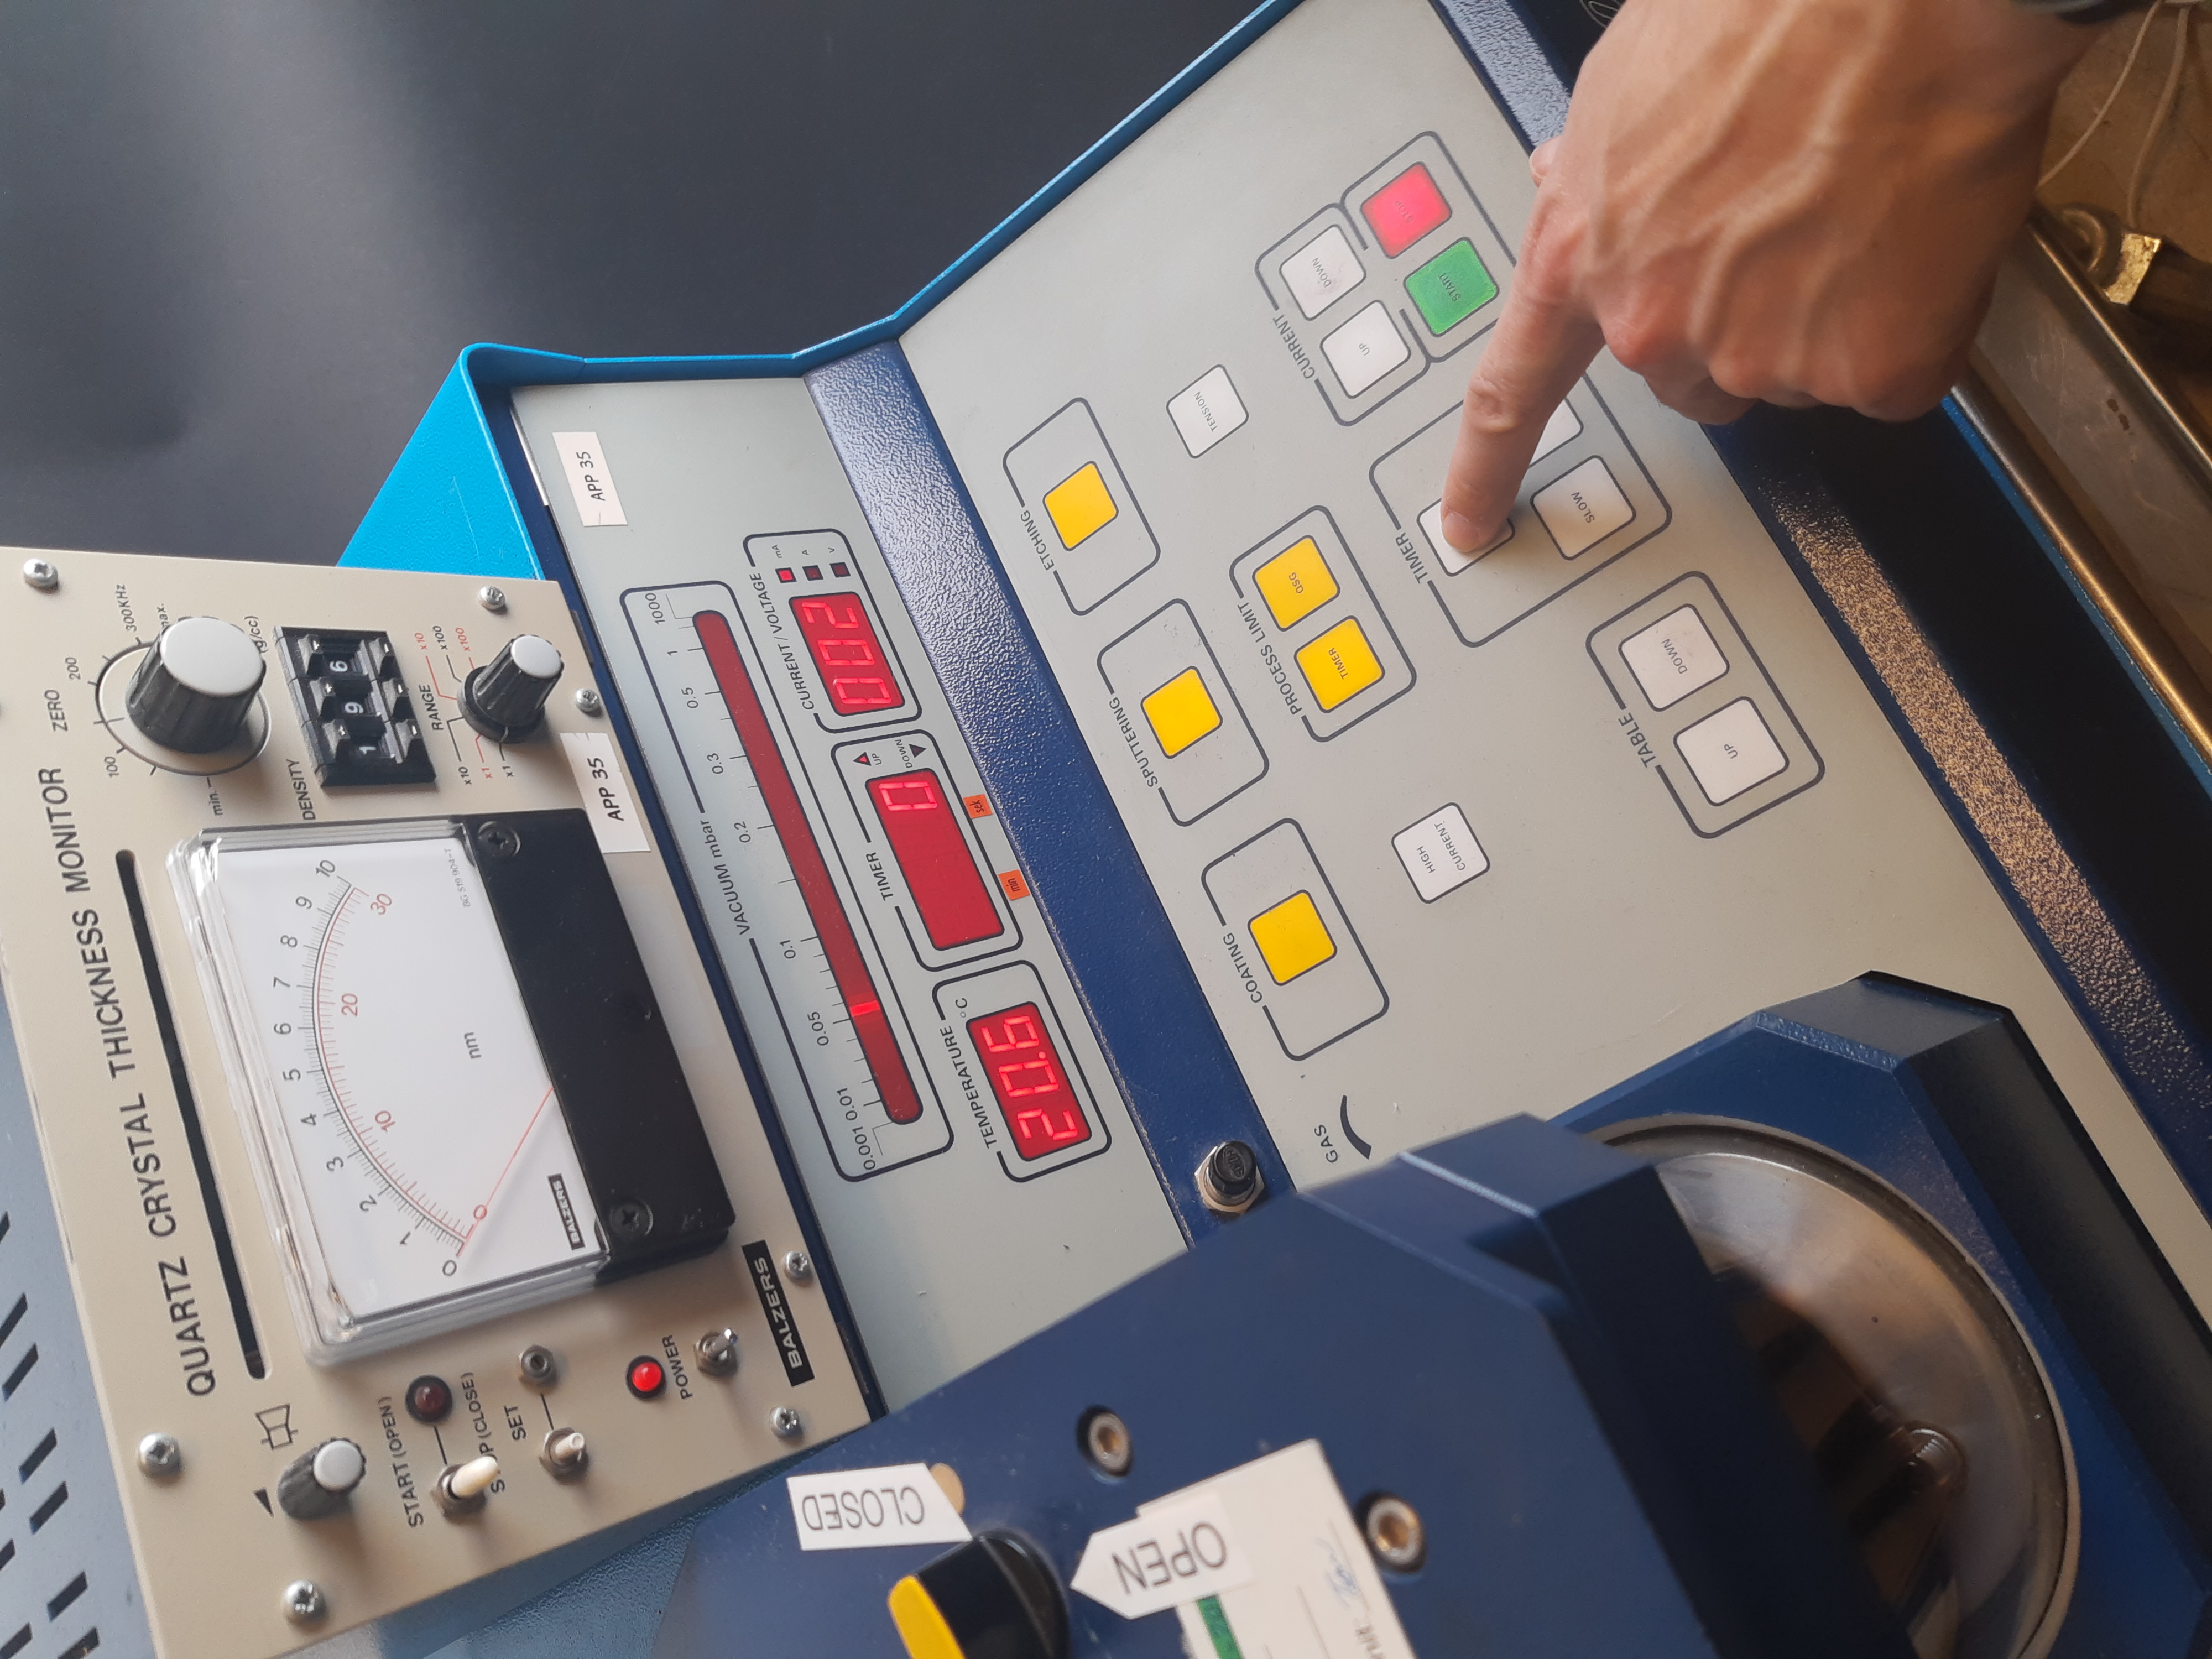
- Press the STOP button. It should start blinking.
- Hold down the CURRENT UP button for a long time (perhaps a minute), until the CURRENT/VOLTAGE display gets to 35-40 mA. (It will fluctuate a bit by itself). Use the UP/DOWN buttons to adjust.
- Open the target cover (twist button on top of arm)
- Press the START button. The timer counts down. When it reaches zero you're done.
Closing down
- Close target cover (Twist button on top of the arm).
- Switch off the sputter coater (Switch on right side)
- Close the gas valve on sputter coater (clockwise)
- Unplug the power cable (pump and chiller stop)
- Close gas regulator valve on left pressure meter on bottle (counter clockwise till it's very loose). You may not see the pressure go down.
- Close gas pressure valve on top of bottle (clockwise). You may not see the pressure go down.
- Lift the arm, and take out your samples. They should be like, all bling :-) If they fell over, you can just lift out the glass tube to reach them.
- Throw out napkin
- Did you turn off the gas bottle valves?
About timing
You can read off the approximate sputtering time in the below diagram. Sometimes it is hard to get down to 0.05 mbar pressure, in that case you'll have to guess. The working distance is 35 mm (for a sample thickness of a few mm).